The Heywood Wakefield recipe that took me three tries
3 drops TransTint Honey Amber. 1 drop TransTint Medium Brown. Per one pint of thinned clear lacquer. That's it. That's the recipe. But getting there took three tries and a deep dive into color theory I didn't expect.
3 drops TransTint Honey Amber. 1 drop TransTint Medium Brown. Per 1 pint of thinned clear lacquer.
That’s it. That’s the recipe. But getting there took me three tries, a lot of test panels, and a deep dive into color theory I didn’t expect.
The job
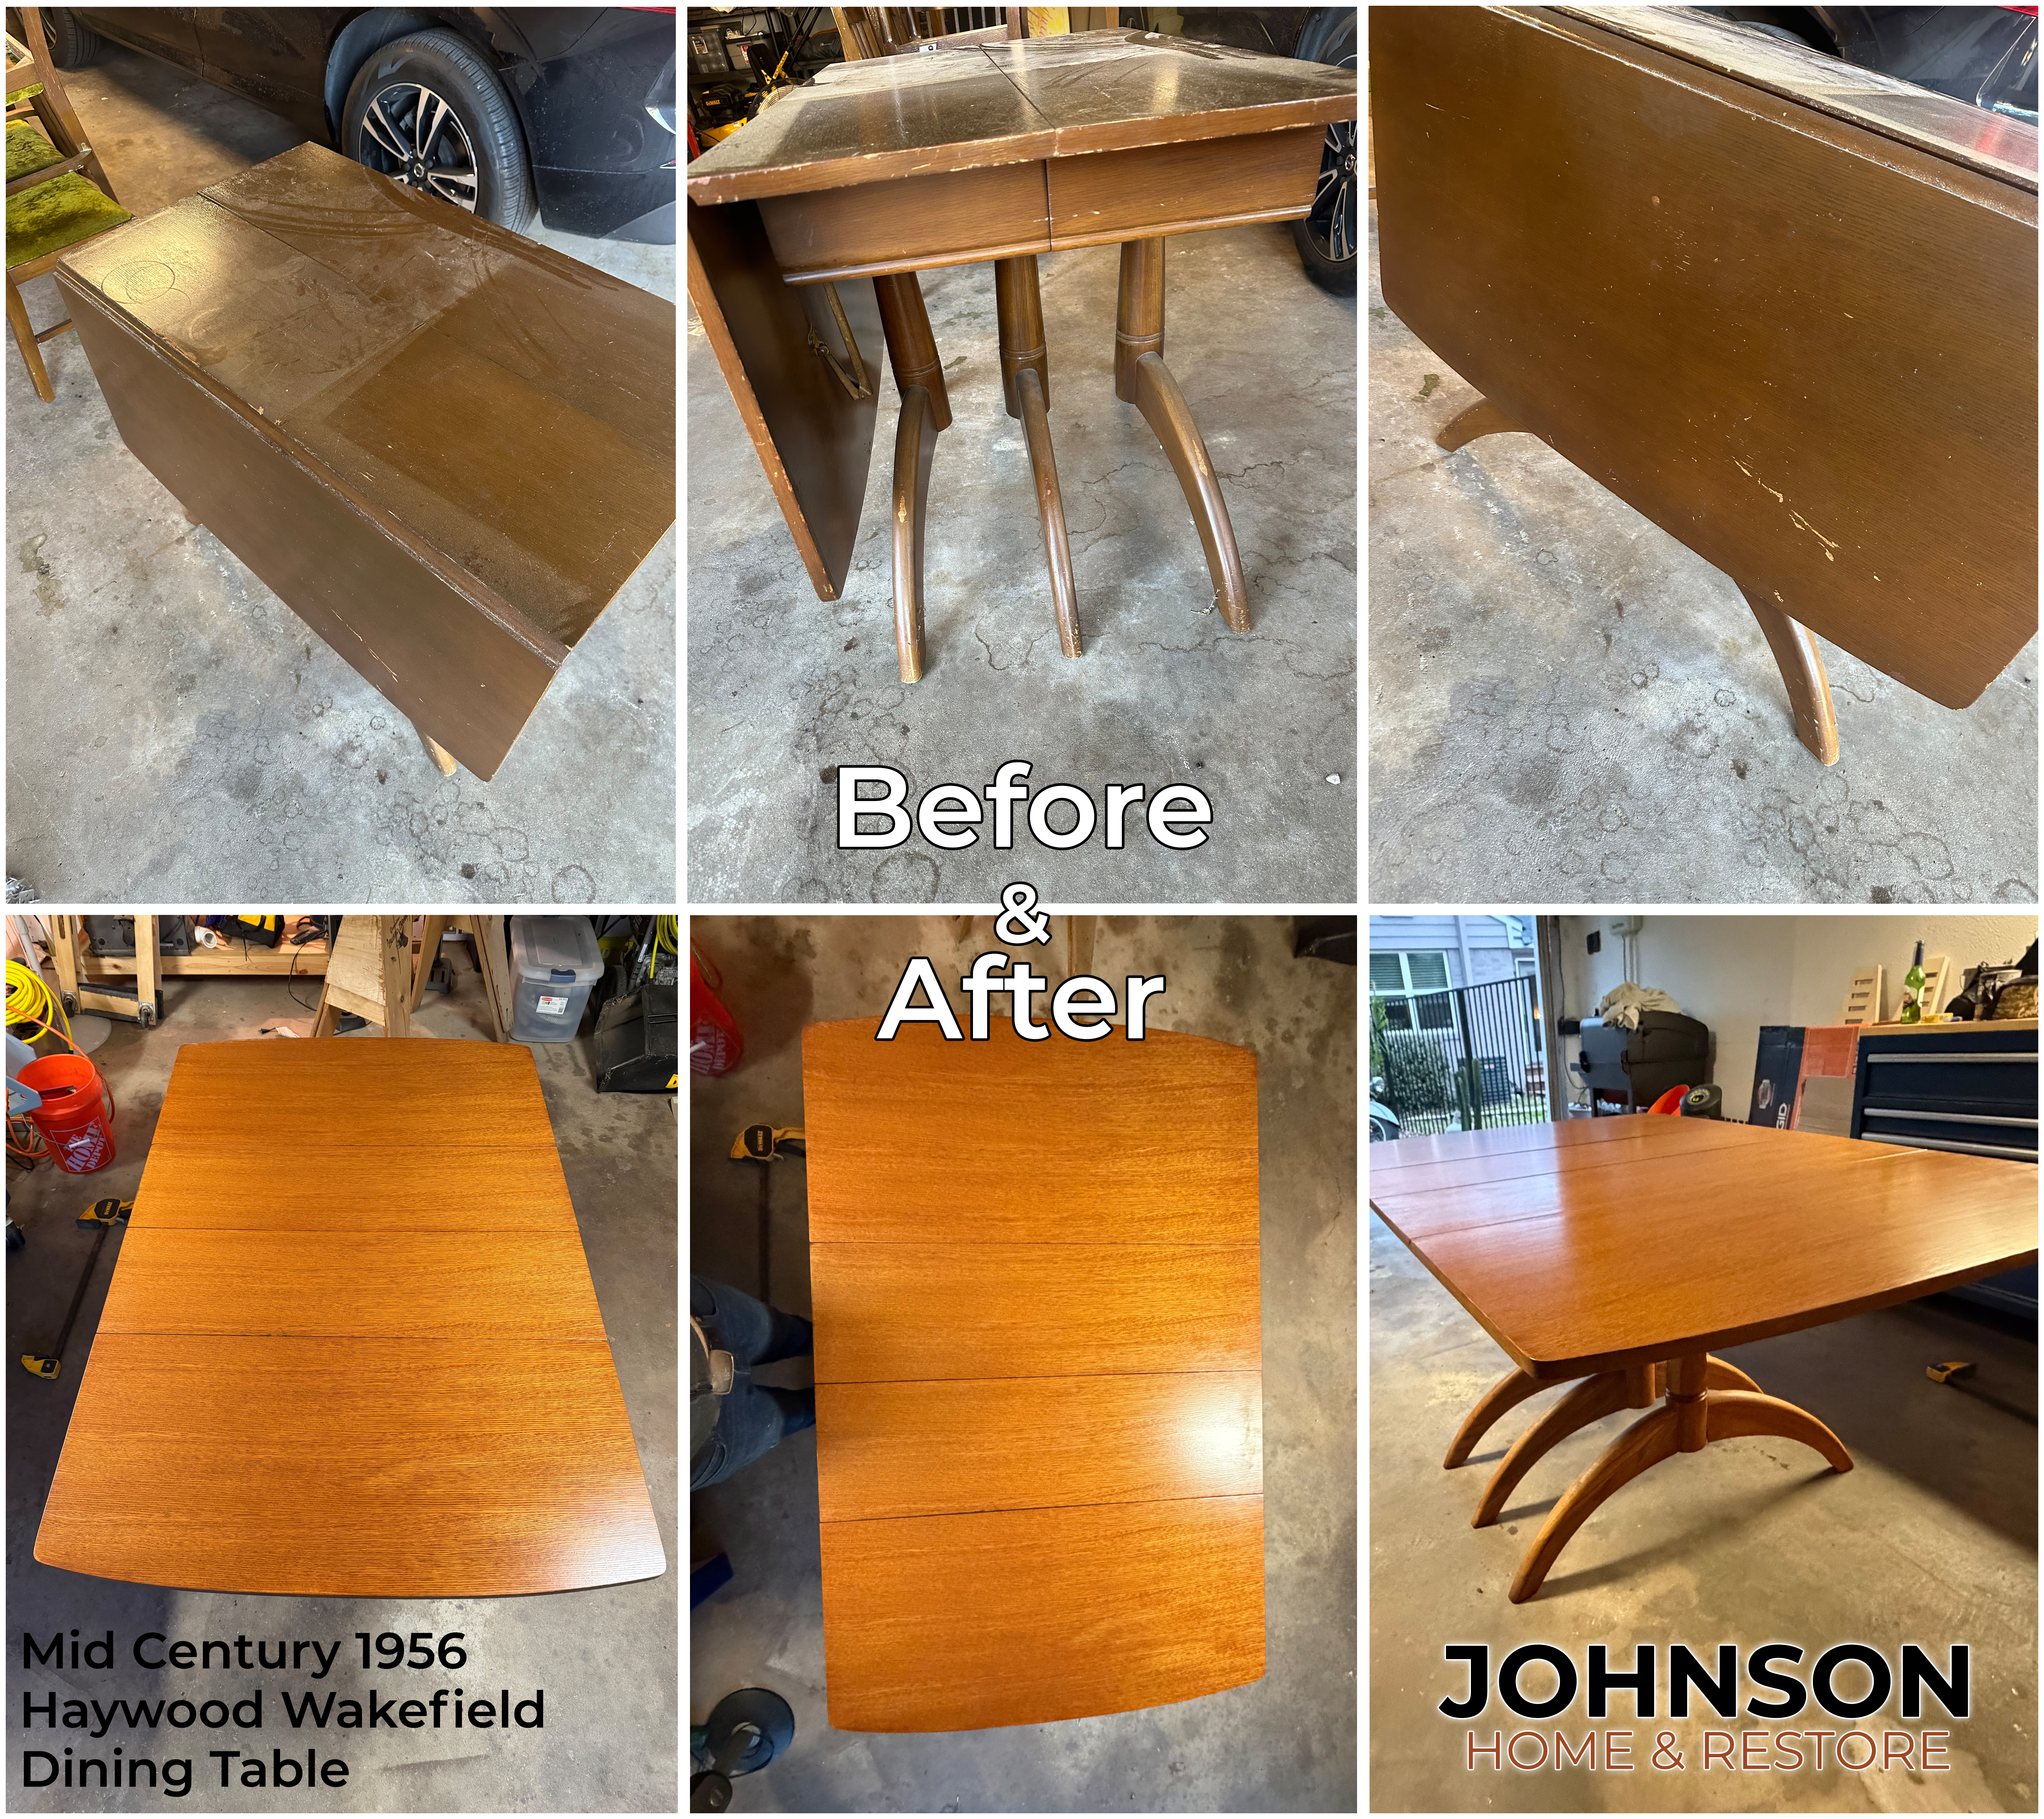
A client brought me a Heywood Wakefield Wishbone table. Beautiful mid-century piece, but the finish was shot. She wanted it restored to the original “Wheat” color — that warm, golden-amber tone that Heywood Wakefield is known for.
Sounds simple. Match the color. Sand it, stain it, seal it.
It’s not simple.
Why the first two tries failed
Heywood Wakefield Wheat isn’t a stain color you can buy off the shelf. It’s a toner — a tinted lacquer that builds color in transparent layers. And the original pieces have 60+ years of oxidation and UV exposure baked into the finish. You’re not matching a color. You’re matching time.
Try 1: Straight Honey Amber toner on raw wood. The result was too yellow. Almost greenish in certain light. Why? Because the raw wood had green and ash undertones that the pure yellow Honey Amber was amplifying instead of neutralizing.
Try 2: More Honey Amber, thinking I could push through the green with saturation. Nope. Just made it more intensely yellow-green. Color theory doesn’t care about your patience.
The breakthrough
The fix was counterintuitive. I needed to add brown — specifically, a brown with a reddish undertone. The red in Medium Brown does two things: it neutralizes the green in the wood, and it adds the warm reddish-amber depth that mimics decades of natural oxidation.
The final recipe:
- 3 drops TransTint Honey Amber (golden baseline)
- 1 drop TransTint Medium Brown (the aging agent)
- Per 1 pint of thinned clear lacquer
- Double to 6:2 for a quart
Application
Sand the piece back to raw wood. Seal with a clear coat first — this gives you a predictable, consistent base. Then apply the toner in sheer passes with low fluid flow. Evaluate one minute between coats. The color builds gradually, and you can stop when it matches your target.
The key is that sealed wood absorbs toner differently than raw wood. Without the seal coat, you’ll get blotchy spots where the grain is more open. With it, every pass builds evenly.
The result
Nailed it. The table looks like it walked out of a 1960s showroom — warm, golden, with just enough depth to feel aged without looking old.
I’m filing this recipe away because I know I’ll need it again. Mid-century restoration is half craftsmanship and half chemistry. When you understand why a color works — not just which can to grab — you can match anything.
More from the shop
See recent projects, browse services, or send in your own piece.